How to Install and Configure PrestaShop Modules
PrestaShop modules allow you to add new features and functionality to your online store without having to develop everything from scratch. You can use modules for payments, shipping, SEO, marketing, analytics, security, customer support, and many other purposes.
In this guide, we’ll explain how to install and configure PrestaShop modules step by step.
What Are PrestaShop Modules?
A PrestaShop module is an extension that adds a specific feature to your store.
For example, you can install modules for:
- Payment gateways
- Shipping services
- SEO
- Google Analytics
- Social media
- Customer reviews
- Newsletter subscriptions
- Product filters
- Security
- Marketing
- Abandoned carts
- Search
- Contact forms
Modules make it possible to expand your store’s functionality without modifying the entire PrestaShop core.
Step 1: Log in to the PrestaShop Back Office
Start by logging in to your PrestaShop administration panel.
Depending on your PrestaShop version, module management can usually be accessed through the Modules or Module Manager section.
The exact menu name can vary between PrestaShop versions.
Step 2: Find a Module
Open the module management section and use the search function to find the feature you need.
For example, you might search for:
- SEO
- Payment
- Shipping
- Analytics
- Security
- Social media
Before installing a module, check its compatibility with your PrestaShop version.
Step 3: Review the Module
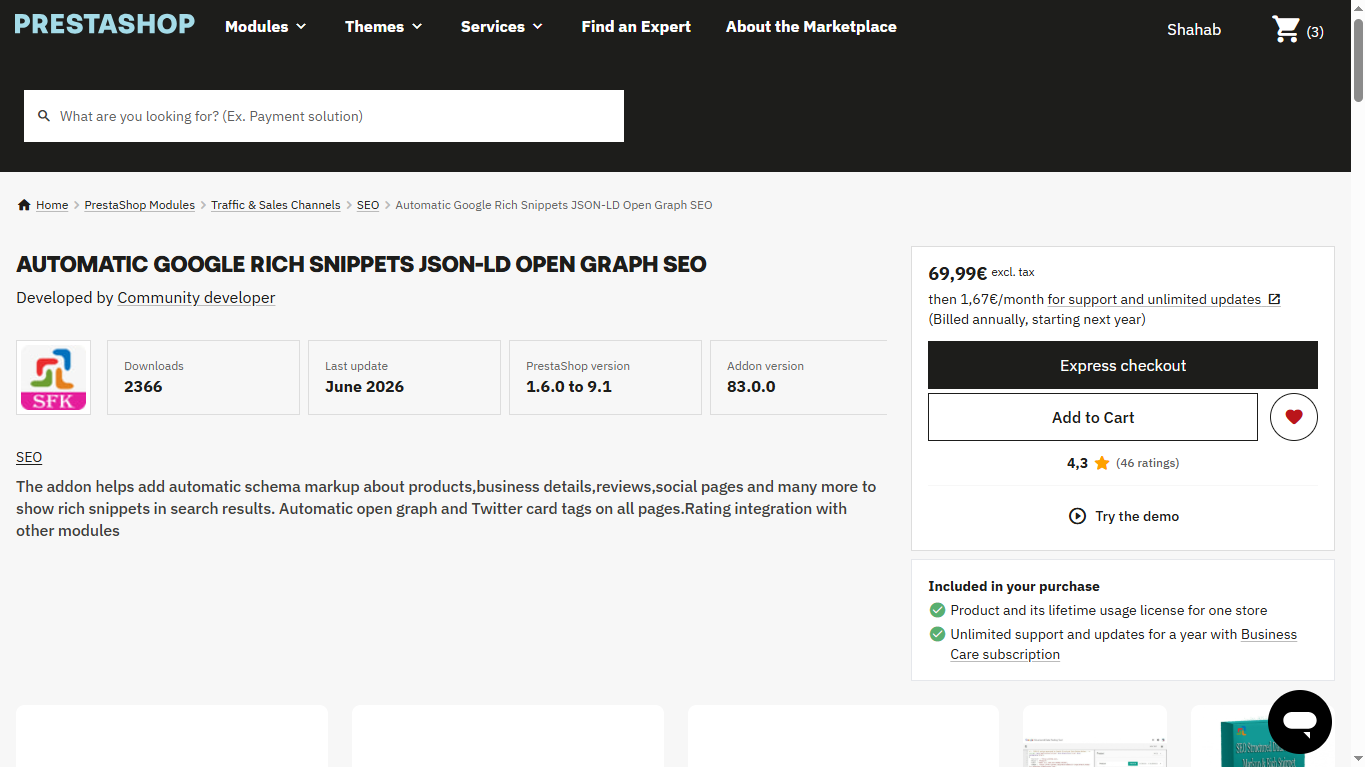
Before installing a third-party module, review its information carefully.
Check:
- Supported PrestaShop versions
- PHP requirements
- Features
- Developer information
- Documentation
- Update history
- Support availability
- Reviews where available
- Licensing and pricing
Avoid installing modules from unknown or untrusted sources.
Step 4: Install the Module
Once you have selected the appropriate module, click Install.
PrestaShop will download or install the module and add it to your store.
After installation, you may see options such as:
Configure | Disable | Reset | Uninstall
The available options depend on the module.
Step 5: Upload a Module Manually
Some modules are provided as downloadable ZIP files.
In the Module Manager, look for an option such as Upload a module.
Select the module ZIP file and upload it.
PrestaShop will process the package and install the module if it is compatible.
Always obtain module files from a trusted developer or marketplace.
Step 6: Configure the Module
After installation, click Configure.
The configuration screen depends on the module.
For example, a payment module may require:
- API credentials
- Merchant ID
- Secret key
- Sandbox/live mode
- Currency settings
- Payment options
A shipping module may require:
- Account credentials
- Shipping zones
- Delivery services
- Shipping rates
- Package settings
Follow the module developer’s documentation when entering technical credentials.
Step 7: Configure Module Permissions and Settings
Some modules provide additional settings related to:
- Customer groups
- Countries
- Languages
- Currencies
- Stores
- User permissions
Review these settings carefully before enabling the module.
For a multistore setup, also check whether the module should operate on one store or multiple stores.
Step 8: Hook or Position the Module
Some PrestaShop modules need to be displayed in a specific location on your website.
You may need to use the Positions or Transplant a module functionality, depending on your PrestaShop version and theme.
For example, a module might be displayed in:
- Header
- Homepage
- Left column
- Right column
- Product page
- Footer
Place each module where it provides value without making the page overcrowded.
Step 9: Configure Module Translations
If your store supports multiple languages, check whether the module contains customer-facing text.
Translate important text into the languages supported by your store.
This is especially important for:
- Checkout modules
- Contact forms
- Payment modules
- Promotional modules
- Customer account features
Step 10: Test the Module
Never assume a newly installed module is working correctly.
Test its functionality from the customer side.
For example, after installing a payment module:
- Add a product to the cart.
- Proceed to checkout.
- Select the payment method.
- Complete a test transaction where supported.
- Check the order status.
- Check confirmation emails.
For a shipping module, test different addresses, shipping methods, and delivery charges.
Step 11: Clear the PrestaShop Cache
After installing or configuring a module, you may need to clear the PrestaShop cache.
Go to your performance/cache settings and clear the cache when appropriate.
Caching can sometimes cause old versions of pages or module settings to remain visible.
Step 12: Check for Module Conflicts
Installing too many modules can sometimes create conflicts.
You may notice:
- Broken layouts
- JavaScript errors
- Checkout problems
- Duplicate content
- Slow page loading
- Incorrect prices
- Module errors
If a problem appears immediately after installing a module, temporarily disable the module and test the store again.
Step 13: Keep Modules Updated
Module developers may release updates for:
- Security
- Bug fixes
- PrestaShop compatibility
- PHP compatibility
- New features
- Performance improvements
Check your module manager regularly for available updates.
Before major updates, create a backup and test the update on a staging environment when possible.
Step 14: Uninstall Unused Modules
If you no longer need a module, uninstall it rather than leaving unnecessary functionality active.
However, check the developer’s documentation before uninstalling modules that store data or modify database structures.
Keep only the modules your store actually needs.
Common Problems With PrestaShop Modules
Module Is Not Compatible
The module may have been developed for a different PrestaShop or PHP version.
Module Installation Fails
Check the ZIP package, server permissions, PHP requirements, and module documentation.
Module Does Not Appear on the Homepage
The module may need to be attached to the correct hook or position.
Module Causes an Error
Temporarily disable the module and check whether the problem disappears. Review your PrestaShop and server logs for additional information.
Module Slows Down the Website
Some modules add scripts, database queries, external requests, or other processing. Review the module’s impact on performance.
Best Practices for PrestaShop Modules
Follow these best practices:
- Install modules from trusted sources.
- Check compatibility before installation.
- Keep PrestaShop and modules updated.
- Back up your store before major changes.
- Test modules on a staging website when possible.
- Avoid installing unnecessary modules.
- Review module permissions and configuration.
- Monitor website performance.
- Test checkout after payment-related changes.
- Remove modules you no longer need.
Conclusion
PrestaShop modules are a powerful way to extend the functionality of your ecommerce store. Whether you need a payment gateway, shipping integration, SEO tools, analytics, marketing features, or customer support functionality, modules can help you add features without developing everything from scratch.
However, every module should be evaluated carefully for compatibility, security, performance, and support. Always back up your store and test important changes before applying them to a live website.
SEO Keywords
PrestaShop modules, install PrestaShop modules, configure PrestaShop modules, PrestaShop Module Manager, PrestaShop module installation, PrestaShop extensions, PrestaShop module configuration, PrestaShop plugins, PrestaShop module troubleshooting
Hashtags
#PrestaShop #PrestaShopModules #PrestaShopTutorial #Ecommerce #OnlineStore #PrestaShopDevelopment #EcommerceWebsite #PrestaShopTips #WebDevelopment #OnlineBusiness #PrestaShopSEO #EcommerceTips