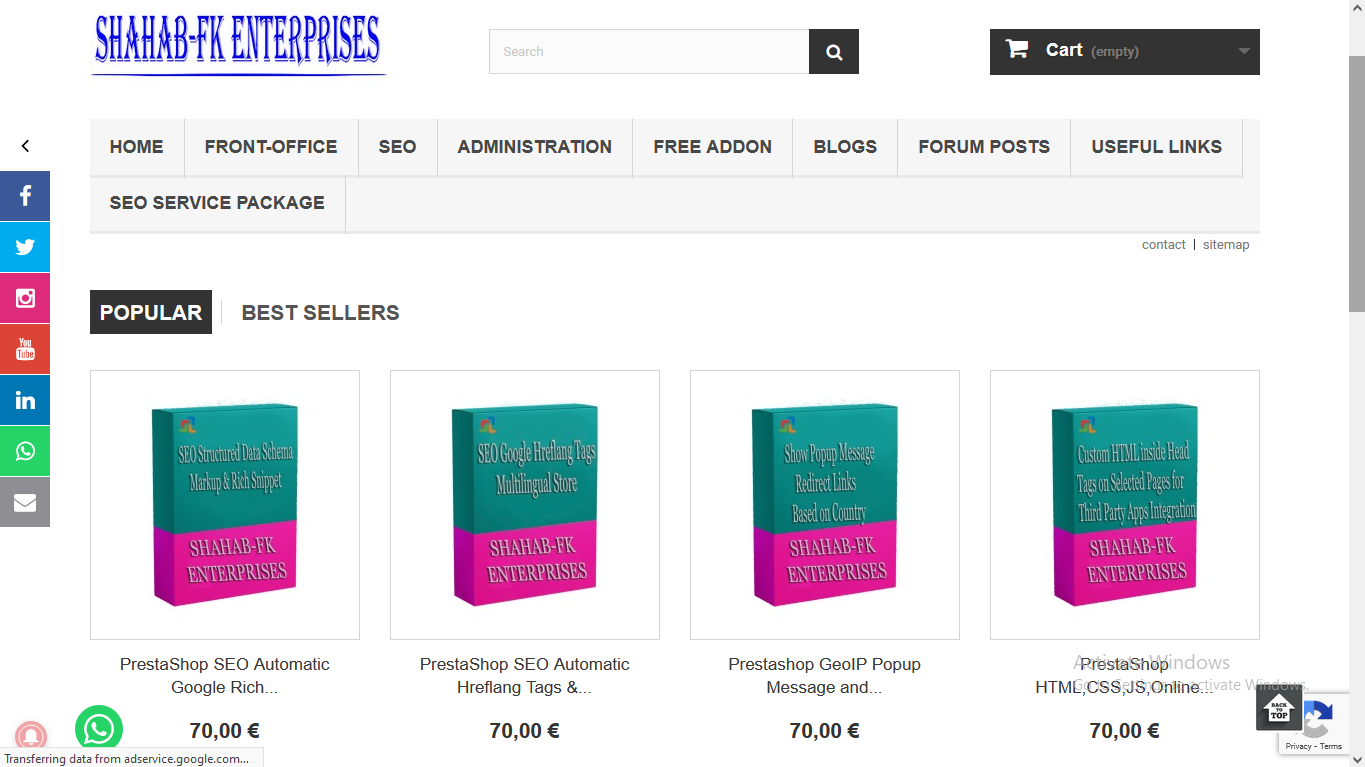
Adding social media links to your PrestaShop store is a straightforward process that can be done in a few simple steps:
- Log in to your PrestaShop backend: Go to your store’s URL and log in to the backend using your admin credentials.
- Go to the Preferences menu: In the backend, click on the “Preferences” menu, then click on “Social Networks.”
- Add your social media links: In the “Social Networks” section, you’ll see a list of social networks to which you can add your links. To add a link, simply enter the full URL of your social media profile in the appropriate field and save the changes.
- Display the links on the front end: To display the social media links on the front end, you’ll need to add the appropriate hooks in your theme. To do this, go to the “Modules” menu and click on “Modules & Services.” Search for the “Social Follow” module and install it if it’s not already installed. Then, go to the module’s configuration page and choose the hooks where you want to display the social media links.
Note: The specific steps to add social media links may vary depending on the version of PrestaShop you’re using and the theme you have installed on your store. If you have any questions or encounter any issues, it’s recommended to consult the PrestaShop documentation or reach out to the PrestaShop support team for assistance.

